Google Search Console is a tool to monitor and troubleshoot website presence in Google search results. This guide is for registering the site in the new console search and doing the initial settings.
The most important thing to do when launching a console search is to verify ownership of the website.
In the following, we will teach you how to connect the site to the search console, step by step.
two different methods of site registration in Search Console
To get started, open the address log page (search.google.com/search-console) in Console Search.
If you are logged in to your Gmail account, on this page you will see two options or two ways to register a website.
The first mode is adding with a domain and the second one is adding with a prefix URL.
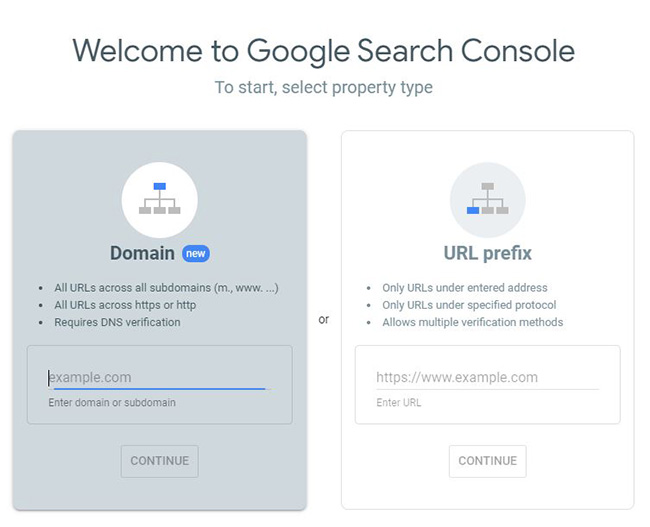
There are differences between the two methods.
Domain mode: Suitable for adding the whole website including all subdomains, paths, and protocols. In this case, you only enter the main address of the website and the search console monitors the entire website.
For example, entering the example.com address includes all of the following:
- http://example.com
- https://example.com
- https://www.example.com
- http://support.m.example.com
- https://example.com/shop
Address prefix mode: Suitable for adding only one address, one path, or just one protocol. Any other page starting with this URL will be monitored in the console search. Like the following:
- Only sites with HTTPS protocol like /https://example.com
- Only HTTP protocols like /http://example.com
- Only blogs with HTTPS protocol like /https://example.com/blog
- Mobile subdomain only: /https://m.example.com
Note: If your website has subdomains that all lead to the same page with the same content, you should use solutions such as canonical tags or redirects.
Google removes duplicate content from search results and does not accept that one page has multiple URLs or two pages with different URLs have the same content.
For this reason, you must provide an address as canonical to Google.
This is important because if you, as the website owner, do not specify which is the primary URL or do not redirect the rest of the URLs, Google will do it itself. In some cases, problems may occur.
Which method should we choose?
If you still do not know which method is best for your website then keep up with us till the end of this article.
Use both methods to launch the console search.
We say do not use just one method because some reports and the console search feature for the domain registration method are disabled (may be enabled in the future).
The second reason is that if you have a large website with several different sections, you will have a complete report by registering through the domain, and then you can have separate reports for other sections.
So, it is better to do both methods of registering the site in the search console.
The steps for both are described below.
Method one: Register the site with DNS
To verify the ownership of the website in this way, you must have access to the DNS admin panel of the website on the server. Every server you buy for your website will have that part.
In the first method, this is done by entering a (TXT Record) in the DNS settings of the host server.
TXT Records, are records that are entered into domain-specific DNS settings for human or machine reading.
There are many uses for TXT records. One of its main uses is to verify the identity of the person who manages the website. This is publicly visible. So, any person or software with a website address can read it.
You can also check the records of any domain you want. For example, the Google G Suite Toolbox does just that.
Well now back to the search console.
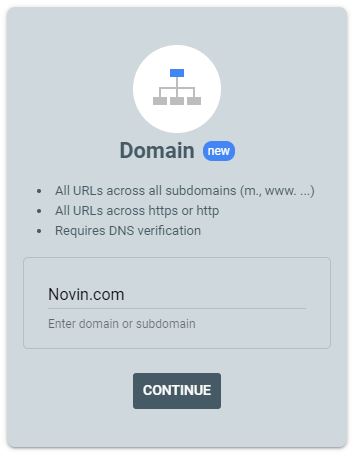
Enter the website address as shown below and click Continue.
After entering the address and pressing the continue button, a window will open with a list of world-famous hosts. If your site is hosted in one of these lists, select it and follow the rest of the steps according to its instructions. The verification process is easier on these servers.
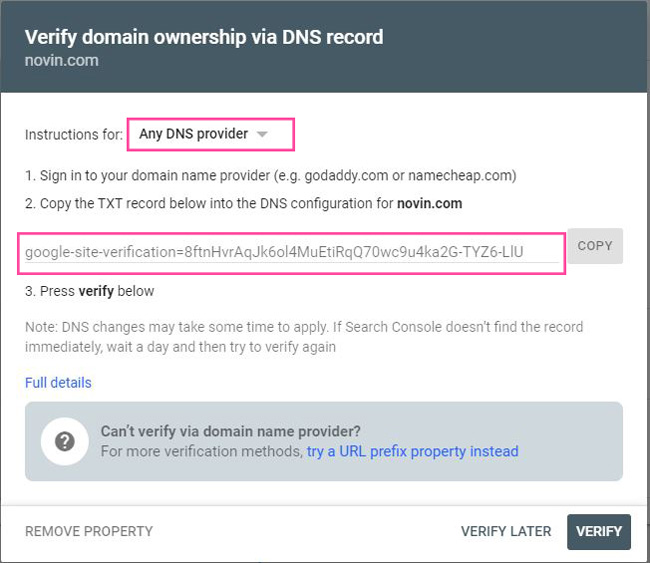
Otherwise, copy the verification code and then enter your host or server admin panel.
In the Host Server panel, go to the DNS Management section.
Note: Your host or server admin panel may be different, but the procedure is the same and you only need to enter the code provided in the DNS settings.
There is usually a form in this section where you can add new records.
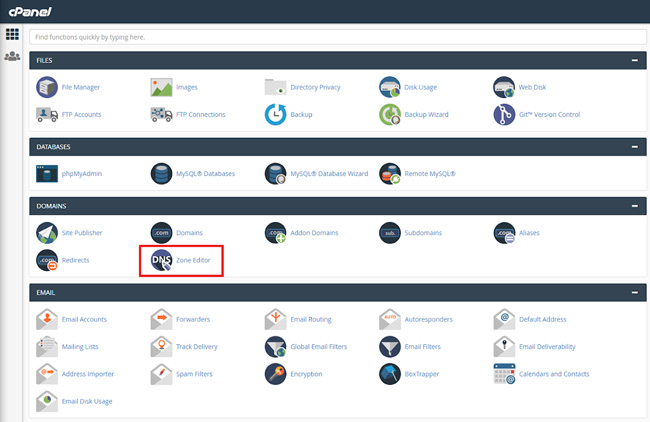
The following steps are related to cpanel.
1- Go to the Zone Editor section.
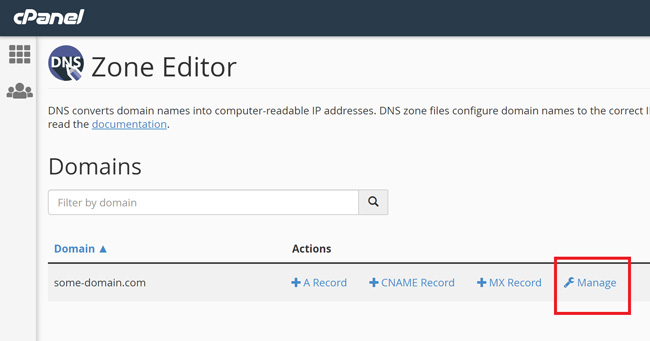
2- Click Manage in front of the domain you want to confirm.
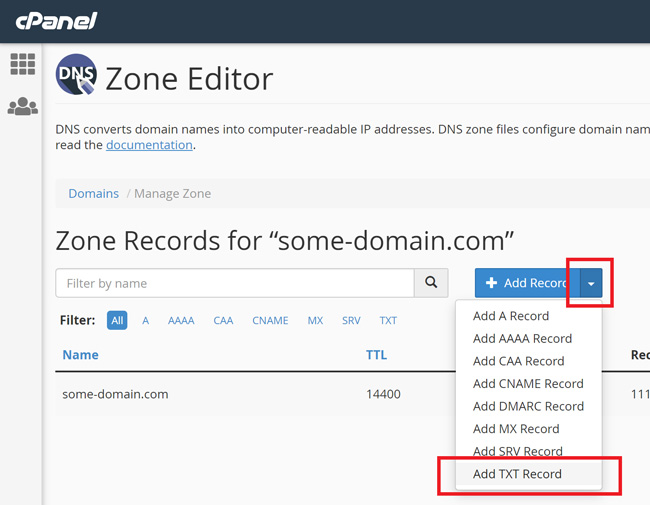
3- Select TXT from the Add Record menu.
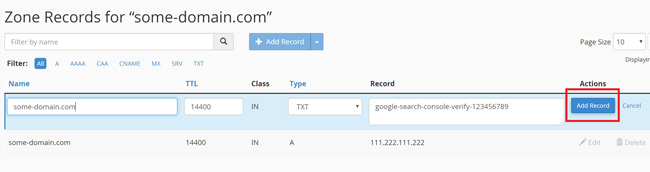
4- Enter the code and other items according to the description below.
- In the name field, you can enter the domain address.
- Select TXT Record Type.
- Paste the code you copied in the Record field. (In some panels this field may be called Value)
- Select or enter the same default values as the TTL value if needed. TTL or Time To Live is the time interval in seconds when you want the changes to be checked and applied.
- It is best to set the default server values, which are usually one hour (3600) or four hours (14400).
- Finally, save the verification code by clicking the Save or Add button.
Be aware that changing or deleting other values entered in these settings can make the website inaccessible. If you do not have enough knowledge in this field, we recommend that you seek help from a host or web hosting company.
After saving the provided code, it may take a few minutes to a few hours for the website to be verified. It usually does not take more than 24 hours.
After a few minutes, you can click the Verify button in the search console and see if it reads the code.
If you see the phrase “Your verification DNS TXT record was not found” after hitting the confirmation message, you should wait as the confirmation phrase may not have been applied and identified yet.
You can hit Verify later and exit the console search. Don’t worry because your verification code will not change.
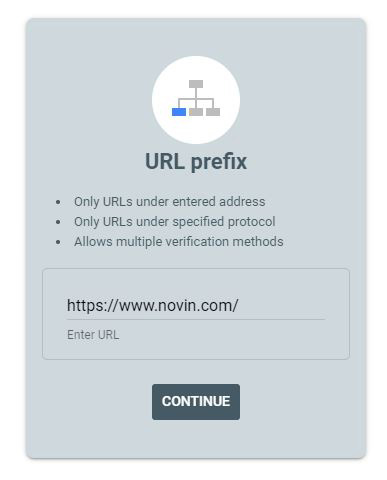
Website registration by URL Prefix method
In the second method, enter the website address along with its protocol (HTTP or HTTPS).
Most domains today are HTTPS, and Google recommends using this secure protocol. If HTTPS is not enabled for your website, ask the host company for support.
Another point is that HTTP protocol input is usually routed to HTTPS by default. If both the addresses and the protocols open for you, ask support to resolve the issue.
Of course, we say get help from support because learning the settings for these tips is beyond the scope of this guide. If you have enough knowledge and experience, then do the above.
An advantage of the second method is the variety of ways to verify the address.
Enter the full site address or subdomain you want.
You do not have to enter the WWW in the address. In the new search console, there is no difference between an address with and without the WWW.
In the next step, you will see the ways to confirm. It is enough to confirm your website with only one of these ways. There is no need to use two or more other ways.
In the next window you will see that you have 5 ways to confirm.
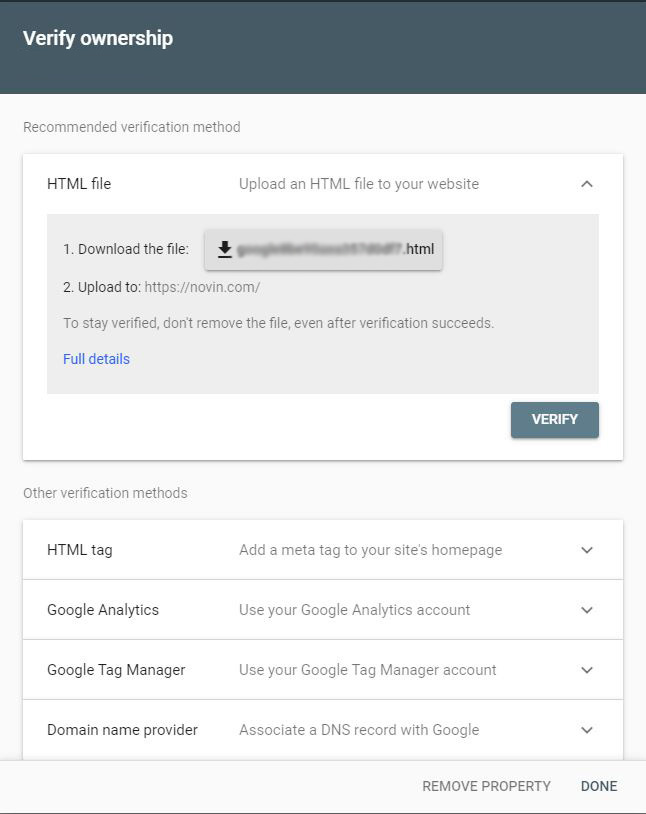
These ways are as follows:
- HTML file: Upload the HTML file provided in the main folder or directory of the website.
- HTML tag: Add an HTML meta tag (code snippet) to the main page of the website.
- Google Analytics: Verification through Google Analytics service that has already been verified and launched.
- Google Tag Manager: Verify with the help of Google Tag Manager that has been already set up.
- Domain name provider: The same method of making changes to the host DNS settings as described in the first method.
Except for the fifth way that we mentioned in the previous method, we will explain the other ways below.
- verifying by uploading an HTML file
In the first method, the search console gives you an HTML file containing the verification code. Download this file.
Upload the file without any change in its name or content in the directory or the main folder of your website.
In the File Manager section of the host server or FTP management software, go to the folder where the website files are located. Usually, the public_html path is the same as the main folder.
After uploading, click the Verify button in the console search to check the file. If the file is uploaded in the right path, it will be verified immediately.
You should never delete this file.
- Verifying by adding HTML tags
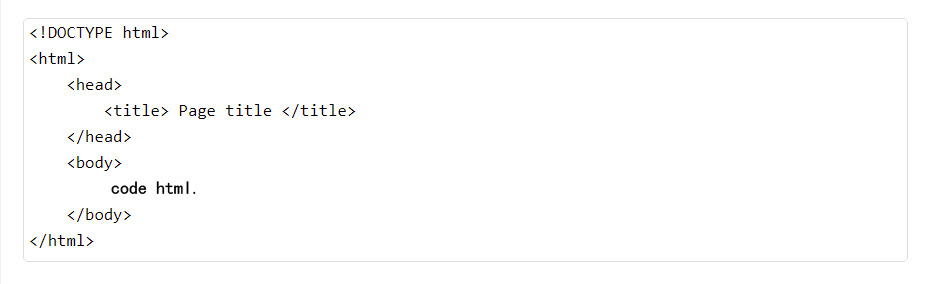
In this method, you have to place a meta tag in the Head section of the main page of the website.
The code structure of web pages has a head section and a body section. The meta tag must be placed at the end of the head section before the tag is closed ().
The fact that which file should be edited depends on your website design system.
Most WordPress-based websites have a header file that needs to be added to the head section. Of course, this may also vary, depending on the template installed.
In WordPress, you can paste and save meta tags from the theme editor in the Appearance menu. Or you can edit the file through server management.
- Website registration in search console with Google Analytics
If you have already registered and launched your website in Analytics service, select this path without any additional work and click the Verify button.
There are several ways to set up Google Analytics. In the article “Setting up Google Analytics”, we have explained the steps.
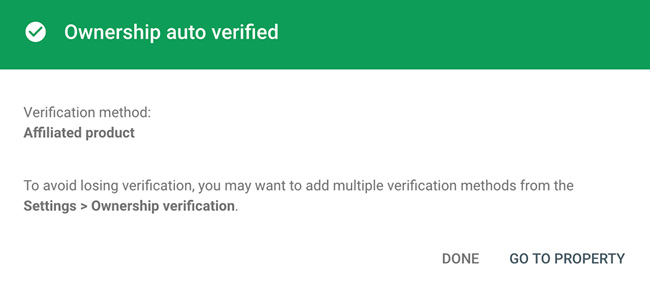
It will Displays the confirmation message if the process is successful.
- Verify with Google Tag Manager
Our suggested method is to use the tag manager.
So far, we’ve seen that to verify ownership of a website, you need to insert code snippets into your homepage or header code. All these pieces of code are counted in the whole tag.
Google Tag Manager is a tool for managing all tags without adding code to the website and seamlessly managing the transfer of data from the website to other tools.
Once you launch Google Tag Manager, registration and verification of ownership of other tools will not need to be acquired on the Website. Of course, this is only one of many uses of Tag Manager.
In the confirmation method with the manager tag, it is enough to click on the Verify button. If the manager tag is installed correctly, you will receive a confirmation message.
the basic settings of the search console
After registering your site in the search console, you need to make some basic and necessary settings.
These settings include the following:
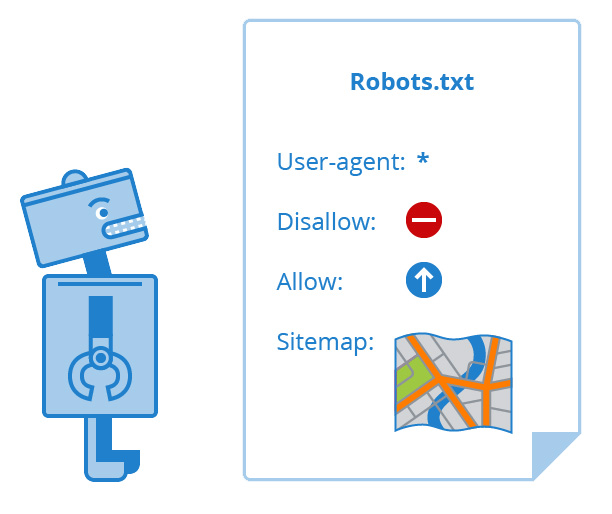
- Check the robots.txt file
When Google crawlers want to enter your web pages, they first read the robots.txt file.
In this file, you can specify which pages bots are allowed to enter or not.
In general, by preventing the entry of robots, we want to achieve 2 goals:
- Reduce robot traffic to unnecessary areas
- hiding the content from Google and other search engines
Hiding content with robots.txt was possible before 2019, but this method is not definitive for Google. Now Google’s policy on how to remove or prevent content from being indexed by websites has changed.
In 2019, Google advised webmasters to stop using the noindex method in the robots.txt file. Instead, place noindex meta tags or tags on the page.
However, make sure your robots.txt file has the necessary permissions.
In the old version, the search console was a special part of this file, but in the new version, there is no place to check it yet. (Changes may be made soon)
At the time of writing, the only way to check and report the status of a robots.txt file is to use the same old tool. Of course, you can also check and modify the file yourself from the website file manager. Then check this file first and make sure it works properly.
- Target language and country
Google search results vary depending on the user’s location and language. This change in the ranking of results is done to target and deliver content by language and location.
That’s why Google needs to know in which country your target audience is and in what language they speak.
Some domains that are specific to a country or region are called ccTLDs.
If your domain is of this type, Google will automatically consider the target region as the country or countries of the domain. This setting is done by default and you cannot change it.
Of course, it is not the only factor in the local SEO domain; The language is set and beyond, the language of the content and the traffic of the users also affect it.
We have two other types of domains whose target country must be set manually.
- GTLD domains, or popular domains such as .com domains
- GccTLD domains that are country-specific but commonly used, such as fm or co
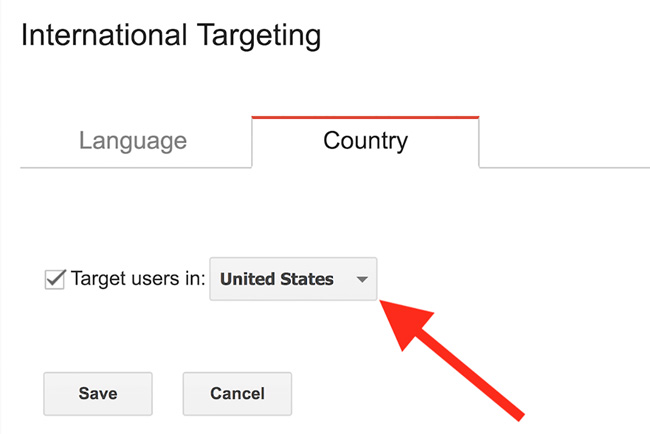
If the domain of your website is of these two types, then go to the International Targeting section in the search console and select the target country.
Another tab in this section is related to language. Google now detects page language with the hreflang tag (and AI).
There is no language setting. In this section, only warnings related to language are announced. You must specify the site language with the hreflang tag on your site. If the language tag is not specified and your site is monolingual, there will be no problem. In this case, it only tells you in a message that the language is not specified. (Your site has no hreflang tags)
But if your website is multilingual, you need to set language tags for Google to direct users to pages in their own language.
- Sitemap
A siteMap is a file that stores the URLs and links of pages, files, and other types of content on the Web site.
Google bots can also crawl and index web pages without having a map. Sitemaps help make the process of crawling and indexing bots faster and better.
for large and complex sites It is necessary to have a map.
The sitemap file should be updated automatically and be in a path that the Google bot can access.
There are many ways to create a sitemap. In this list, Google has introduced a set of solutions for creating a sitemap.
Due to the widespread use of WordPress, dozens of plugins like the popular Yoast plugin easily create sitemaps.
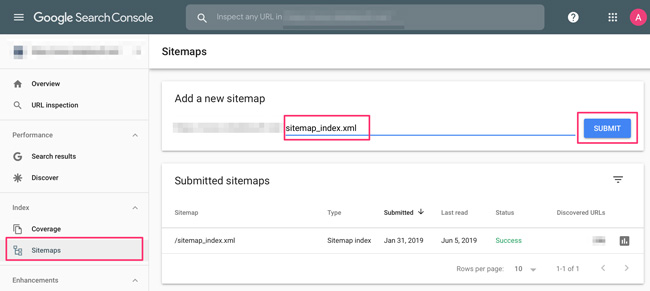
After creating the map, enter its address in the search console as shown below. After submitting, it takes some time for the file review and pages to be indexed for the first time.
Your console search is ready
After launching the console search, you will have to wait for the web pages to be checked. Fix them if you get an error or a warning.
Develop your website with the information you get from console search reports. Strengthen your presence in Google search results and monitor the smallest changes.
Read our next article for more advanced tasks and using search consoles to improve SEO and to become a professional webmaster.


Leave feedback about this
You must be logged in to post a comment.